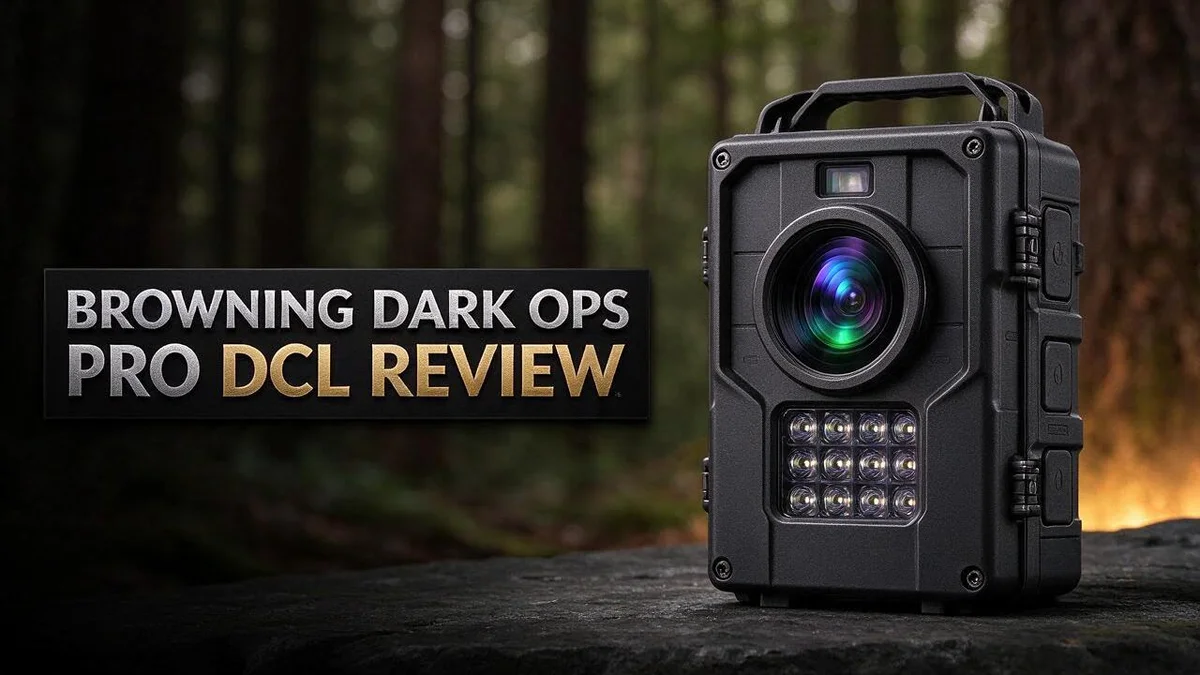
Browning Dark Ops Pro DCL Review 2026: Worth the Price?
Do you want sharp trail cam photos day and night? The Browning Dark Ops Pro DCL aims to deliver exactly that.
This camera captures 26 MP photos and 4K video with sound. It also reacts fast, with a trigger speed of 0.15 seconds.
The “DCL” stands for Dual Camera Lens Technology. A custom tuned daytime lens sharpens your daylight images, while the dual setup also optimizes night shots.
In a Nutshell
- Best for: Hunters and landowners who want a clear daytime picture. The custom tuned daytime lens handles bright light well.
- Speed: The 0.15 second trigger speed helps the camera catch animals as they enter the frame. Fast triggers mean fewer empty photos.
- Day and night balance: The dual lens setup gives each lighting condition its own optics. This separate approach explains why the camera performs well around the clock.
- User feedback: One TN Deer Forums user called Browning cameras “fantastic.” Owners seem happy with the brand overall.
- Limits: The research shows no major flaws. One Reddit user wanted a better picture from the Dark Ops Pro DCL Nano on a fence mount, so placement matters.
- Alternatives: Many forum users favor the Browning Recon Force Advantage. Buyers who want a cellular option can look at the Browning Pro Scout Max HD Cellular.
Key Features and Dual Camera Lens Technology

Last update on 2026-11-19 / Affiliate links / Images from Amazon Product Advertising API Some of the links on this website are affiliate links, which means that at no additional cost to you, I earn a commission if you click through and make a purchase. I only recommend products and services that I believe will add value to my readers. Thank you for your support!
Most trail cameras rely on one lens for every light level. The Browning Dark Ops Pro DCL takes a different path. It pairs a daytime lens with a separate night setup, so each mode gets its own focus.
The daytime lens gets special attention here. Browning tuned it for bright sunlight, so fine details stay clear. You can spot antler points, fur patterns, and tracks in the dirt. Sharp daylight shots also help you judge antler size.
Night works in a different way. When light fades, the camera shifts to its infrared system. The glow stays invisible, so wary animals do not notice a flash.
Placement changes how well both lenses perform. Aim the camera so animals walk across the frame. Side views give the lens more time to lock focus on a moving target.
Mounting height matters too. Many hunters place the camera around waist height. This angle keeps the subject in the sweet spot for both lenses. Stay consistent with the height each time you check the card.
Dawn and dusk test any camera. Light shifts quickly during these hours. The dual lens setup helps each image stay clear as conditions change. Watch how your images look at each hour.
Real user feedback adds useful context. One Reddit user wanted a sharper picture from a Dark Ops Pro DCL Nano on a fence line. Setup choices clearly shape results.
Your hunting style decides which lens matters most. Open fields lean on the daytime strength. Dense brush and night monitoring rely more on the infrared system. Think about the land you cover most often.
Keep the lens clean for best results. Dust, rain drops, and spider webs can soften images. A quick wipe with a soft cloth keeps photos crisp.
In short, the dual lens design targets clarity in every light condition. Good placement and regular care help you get the most from it.
Photo and 4K Video Quality
Picture quality shapes how much you learn from every trail cam visit. Sharp detail helps you judge antler size, body shape, and animal age.
Video works differently than still photos. Clips need steady light and clean focus to show movement clearly.
Storage plays a role here. Choose a fast, name brand SD card so 4K clips save smoothly without dropped files.
Video length also matters. Longer clips fill memory quickly, so check your settings before you leave camp.
Sun glare can wash out a scene. Position the camera so the sun does not shine straight into the lens.
Background clutter affects clarity too. Tall grass, swaying branches, and busy shadows can blur the subject. Trim brush near the camera to improve your shots.
Subject distance changes everything. Animals close to the lens look crisp, while distant animals may look small and soft. Aim for a clear zone where most traffic passes.
Many trail cameras produce grayscale night images, so you read them differently. Look for clear eye shine and a sharp outline rather than color.
Fog and humidity can soften images. Expect slightly softer shots on damp mornings and compare them with clear-weather photos.
Test your camera with a walk test. Walk through the frame at normal speed and review the results. Clear shots at that distance confirm the focus is set well.
Video clips show behavior that stills miss. Watch how animals move, pause, and feed. This adds context that a single photo cannot provide.
Keep notes on each photo. Record the date, time, and weather. Over time, these notes reveal which settings produce the best detail.
Test the camera in your own setup before you rely on it for key decisions. Your results will show whether the image quality fits your land.
Night Performance and Invisible Infrared Range
The Invisible Infrared Illumination System works quietly after dark. It lights the scene with light that most animals cannot see. This helps you record natural behavior instead of startled animals.
Deer, hogs, and other wary animals often change course when a flash fires. A quiet setup helps you keep their normal habits on camera.
Why does this matter? Animals that spook at a bright burst may leave the area for days. Quiet illumination lets you capture steady, everyday movement.
The system turns on when light drops. It switches over on its own, so you do not need to adjust anything each evening.
Infrared range depends on the scene. Objects close to the camera receive more light. Distant animals may fall into shadow and look dim.
Think about your trail layout before you set up. Place the camera so the likely path sits inside the illumination zone.
Brush, tall grass, and thick branches can block the beam. Clear a few obstructions in front of the lens before you mount the unit.
Night clips and photos reveal timing. Pay attention to the timestamps on every capture. You may notice when animals travel most often.
Pro tip: Log the time of each night capture in a simple notebook. Patterns often appear within a few weeks.
Infrared images can look different from daytime shots. Fur and skin may appear lighter or darker than they do in daylight. Plan for that shift when you identify animals.
Night use can drain batteries faster than daytime use. The infrared light adds work for the camera. Pack spare batteries for long setups.
Warm nights can strain electronics. Shade the unit from direct sun during the day so it runs cooler after dusk.
A steady mount also matters after dark. Wind can move branches and blur a scene. A firm base keeps your images clear across many nights.
Review your first night of photos closely. Look for animals that sit at the edge of the frame. Adjust the angle if the action falls outside the view.
Overall, this system helps you see after dark without spooking game. Test your setup before the season starts so you know what to expect.
Top 3 Alternatives
Glock 19 Gen5


Last update on 2026-11-19 / Affiliate links / Images from Amazon Product Advertising API Some of the links on this website are affiliate links, which means that at no additional cost to you, I earn a commission if you click through and make a purchase. I only recommend products and services that I believe will add value to my readers. Thank you for your support!
The Glock 19 Gen5 is a favorite for many shooters. It offers a comfortable grip and a reliable trigger. Many people pick it for daily carry and home defense.
Good to know: Glock pistols are simple to clean and maintain. This makes them a smart choice for new owners.
Sig Sauer P320

Last update on 2026-11-19 / Affiliate links / Images from Amazon Product Advertising API Some of the links on this website are affiliate links, which means that at no additional cost to you, I earn a commission if you click through and make a purchase. I only recommend products and services that I believe will add value to my readers. Thank you for your support!
The Sig Sauer P320 brings modular design to the table. Shooters can swap grip sizes to find a fit that feels right. Its smooth action and crisp sights help with accuracy.
Why it stands out: The P320 comes in many configurations. You can choose a model for range practice, carry, or competition.
Springfield Hellcat

Last update on 2026-11-19 / Affiliate links / Images from Amazon Product Advertising API Some of the links on this website are affiliate links, which means that at no additional cost to you, I earn a commission if you click through and make a purchase. I only recommend products and services that I believe will add value to my readers. Thank you for your support!
The Springfield Hellcat is a slim pistol built for concealed carry. It packs a lot of firepower into a small frame. Its compact body fits well in a waistband holster or a pocket.
Best for: Anyone who wants easy carry without giving up capacity. It suits both beginners and experienced shooters.
Trigger Speed and Detection Reliability
Trigger speed tells you how fast a camera reacts to movement. The Browning Dark Ops Pro DCL has a 0.15 second trigger speed. That quick response helps catch animals before they leave the frame.
A fast trigger matters most when animals move through quickly. A deer crossing a trail may only stay in view for a moment. A short delay gives you a better chance to capture the whole animal.
Detection reliability means the camera fires every time something enters the zone. The motion sensor and trigger speed work as a team. If either part lags, you can miss important moments.
Think about the time between motion and capture. Some animals step through the zone and vanish in under a second. Every fraction of a second counts in those moments.
Recovery time also shapes your results. This is the wait between one trigger and the next. Short recovery lets the camera capture a group instead of only the first animal.
Busy trails show this difference fast. A small herd or a sounder of hogs can cross in seconds. Quick recovery helps you record each animal in the group.
Sensor coverage deserves attention too. Aim the camera so the detection zone covers the path animals actually use. The edges of a trail often see less action and weaker detection.
Most cameras let you adjust sensitivity. Higher sensitivity catches more animals. It can also increase false triggers.
Lower sensitivity cuts false shots. It may miss smaller animals like turkeys or rabbits. Test a few settings before you settle on one.
False triggers can waste space on your card. Swaying grass, branches, and blowing leaves may set off the sensor. Clear loose growth from the zone to cut down on empty frames.
Check your captures after each visit. Many empty frames can signal a sensor that reacts to wind. Few photos paired with signs of activity may point to a sensor that needs adjustment.
Reliable detection means fewer missed animals and more useful photos. Review your settings often and adjust them as the season changes.
Build, Mounting and Field Setup
Good setup starts before you lift the camera. Choose a sturdy tree or post that stays still in the wind. A swaying branch can blur images and trigger false clips.
Many hunters mount the camera at chest height for a natural view. Some prefer a lower spot for smaller animals. Test a few heights before you tighten the strap.
One Reddit user wanted a better picture from a Dark Ops Pro DCL Nano mounted on a fence. A fence line may limit the view, so look for a spot with more open space.
A slight downward tilt keeps animals centered in the frame. It also cuts down on empty sky in each shot.
Use the included strap or a sturdy bracket for a firm hold. Tighten every strap so the body does not wobble. Check the mount after heavy rain or strong wind.
Lock the case and protect the SD card slot. Thieves and curious neighbors can grab a camera fast. A security cable or lock box adds peace of mind.
Start with fresh batteries and a formatted card. Weak power can cause missed captures, especially in cold weather.
Cut away a leaning limb or dead stem that sits in front of the lens. Moving plants can create unwanted motion in your footage.
Pick a spot you can reach easily in every season. Easy access makes maintenance quicker and safer.
Mount the camera higher than most animals can reach. Wildlife and passersby can bump a low unit. A higher mount also keeps the lens clear of splashing mud.
After mounting, review your first images and adjust the angle if something looks off. Make sure the trail sits in the middle of the frame.
Write down the exact mount height and angle. Future setups go faster when you copy what worked. This simple habit saves time on every trip.
Pros and Cons
Pros
-
- Sharp 26 MP photos show fine detail on animals.
-
- 4K video with sound gives you complete clips.
-
- The dual lens setup aims for strong images in daylight and darkness.
-
- A TN Deer Forums user called Browning cameras fantastic.
-
- Browning offers a same-brand option, the Pro Scout Max HD Cellular, if you want more features.
Cons
-
- Official research lists no clear cons, so read more reviews.
-
- One Reddit user wanted a better picture from a Nano model on a fence.
-
- A forum post hints at disappointment, but the reason is unclear.
-
- Many users favor the Recon Force Advantage, so this model may not be every hunter’s first choice.
Who Should Buy It
This model suits hunters who check their trails often. Frequent visits let you review captures and adjust your plan quickly. Regular scouting turns raw images into useful patterns.
Property owners who monitor land for months may appreciate it too. A long record shows when animals visit most. That history helps you choose stand locations for each season.
Wildlife watchers at home can enjoy this camera as well. You can observe backyard visitors without standing nearby. Some people find that calm view relaxing.
Consider your daily routine first. If you cannot visit every week, a full memory card can slow you down. Plan your checks around your schedule.
Families who want to teach kids about nature may find it useful. Children can review clips together and ask questions about each animal they see. Learning becomes a shared activity.
Buyers who need remote alerts on a phone should look closer. This article does not confirm that feature for this model. Check the official product details before you decide.
Think about your goal before you buy. Scouting deer needs different features than watching birds or small mammals. Clear goals lead to a smarter choice.
Newcomers to trail cameras may feel unsure at first. Start with a simple routine and one camera location. Small steps build confidence over time.
Hunters with several properties might value a steady workflow. Keep one card per site and label each one clearly. Organized files save time during busy seasons.
Ask yourself a few simple questions. Will you check the camera weekly? Do you want clips or still photos most? Your answers point to the right choice.
Overall, this camera fits people who value detail and patience. It serves hunters and nature fans who enjoy reviewing every capture. Read more reviews to confirm it matches your needs.
Final Verdict
The Browning Dark Ops Pro DCL earns a solid recommendation for hunters who value clear images. It feels like a focused camera that does its main job well.
The 0.15 second trigger speed helps catch animals as they enter the frame. Fast capture means fewer empty photos and more useful ones.
The Invisible Infrared Illumination System keeps night shots discreet. Deer are less likely to notice a glow, so they act more naturally.
I see this camera as a strong choice for a first serious season of scouting. It rewards careful setup and regular checks.
Here is a quick way to decide:
Buy it if you want sharp pictures and plan to visit your camera in person.
Wait if you need alerts sent straight to your phone.
Compare first if you want to see how other Browning models fit your plan.
Smart buyers test before they commit. Place one camera on your best trail. Review the results after two weeks. Then decide whether to add more units.
Also check the return terms from your seller. A short trial period gives you peace of mind. You can judge the photos on your own land.
Long term results depend on your habits. Swap batteries on schedule. Clean the lens often. Back up photos to your computer after each visit.
Pair the camera with a simple plan. Note the date, wind, and moon phase for each good photo. Patterns will show up fast, and the camera will earn its spot on your tree.
Remember that the research here is limited. Real owners often find small quirks after a month of use. Read fresh reviews before you click buy.
My final score is 4 out of 5 stars. The camera delivers where it counts, and the open questions look small. Choose it with confidence, and keep your expectations realistic.
Good luck on the trail. May your next card pull show the buck you have been chasing.
Frequently Asked Questions
Can this camera record sound with video?
Yes. It captures 4K video with sound, so you can hear calls, rustling leaves, or passing birds. Sound adds helpful context when you review clips at home.
Where should I aim the camera first?
Start by aiming at a trail or feeding area with clear sight lines. Keep the lens away from direct sun, since glare can wash out images. Walk in front of the lens during setup to test the angle.
Do I need to check local rules before I set up?
Yes. Trail camera rules change by state, county, and land type. Always check local wildlife laws before you place a camera on public land. Private landowners should also confirm any rules in their lease.
How can I avoid empty or false photos?
Clear small branches and tall grass that move in the wind. Mount the camera firmly so it does not sway. Fewer false triggers mean fewer empty files to sort through later.
Should I mount the camera high or low?
Choose a height that suits your target animal. Many users pick chest height for deer, while lower mounts work well for small mammals. Test a few heights before you settle on one.

Hello, I’m Emily Price, the founder of Birds Affection. As a passionate bird enthusiast and spiritual seeker, I’ve always been fascinated by the symbolic meanings and mystical connections between birds and our lives. On this website, I share my knowledge and insights on the spiritual significance of various bird species, exploring their roles as messengers, guides, and teachers. Through my writing, I aim to inspire and educate others on the profound wisdom and beauty that birds bring to our world. Join me on this journey as we delve into the enchanting realm of bird symbolism and discover the hidden meanings behind these magnificent creatures.